Clean the visible form
Direct the editor to remove exposed mannequin, stand, skin, or model areas while retaining the garment's actual silhouette.
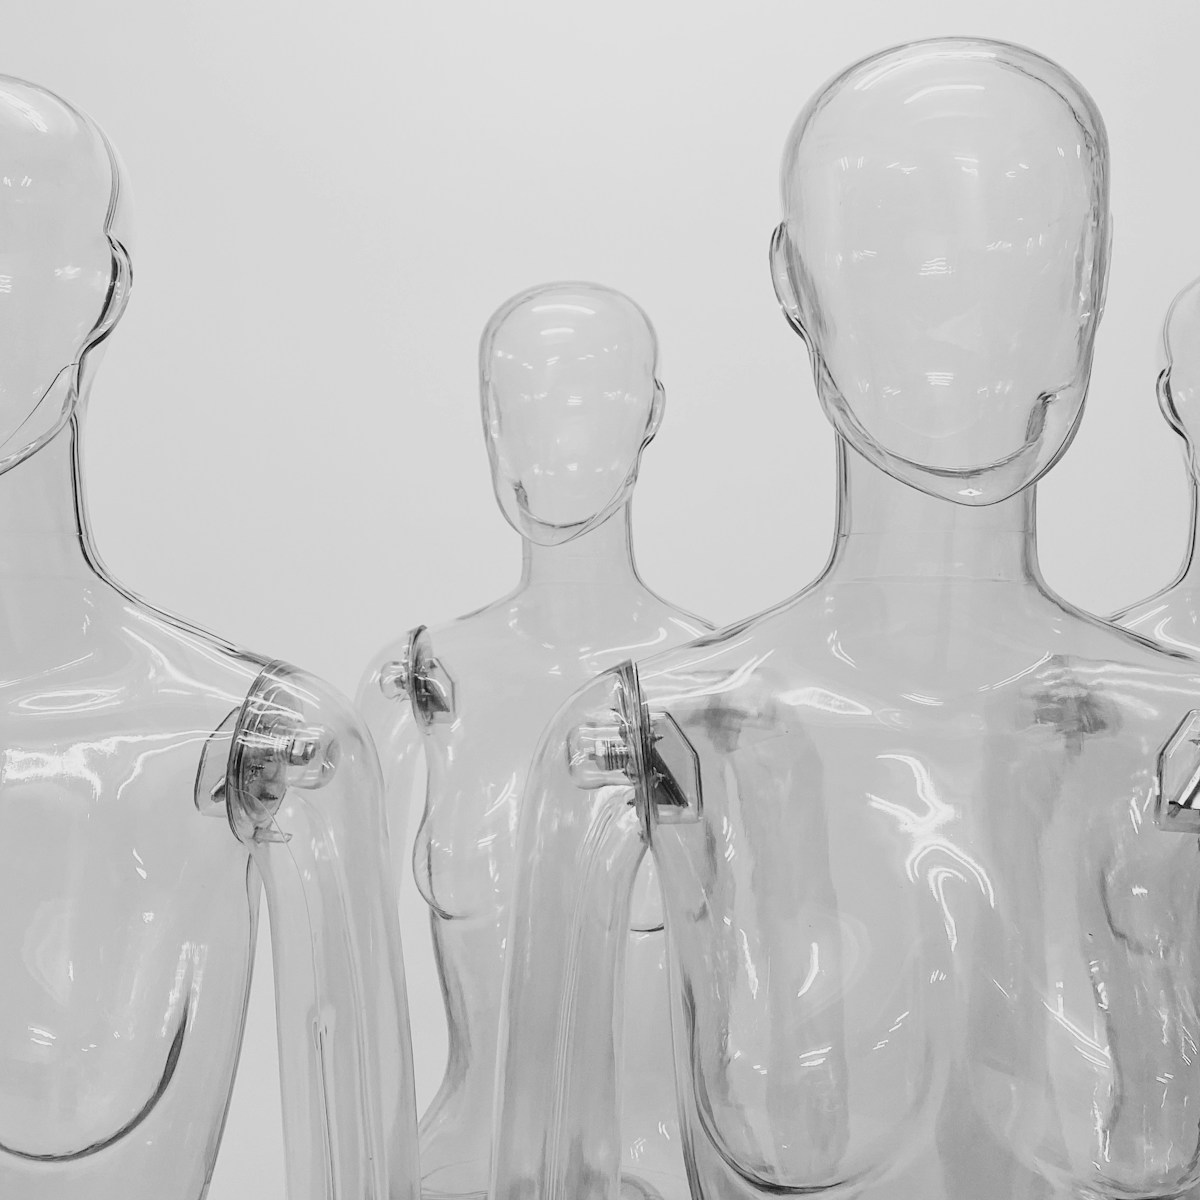
Apparel images without the visible form
Use AI-assisted editing to turn on-model or mannequin apparel photos into clean ghost mannequin photography. Upload your image, direct the cleanup, then review the neckline, sleeves, and inner fabric before publishing.
A controlled apparel workflow
Ghost mannequin photography makes a garment look filled out without showing the model or display form. Use the editor to clean the source image, then verify every reconstructed area against the real item.
Direct the editor to remove exposed mannequin, stand, skin, or model areas while retaining the garment's actual silhouette.
Ask for the collar opening, sleeve interior, or inner fabric that the removed form concealed, then compare the result with the garment.
Review seams, labels, logos, fasteners, texture, and color before an edited image reaches a PDP or catalog.
From source to listing
Strong results start with a clear source and finish with a deliberate quality check. Treat each image as an apparel edit, not an automatic catalog conversion.
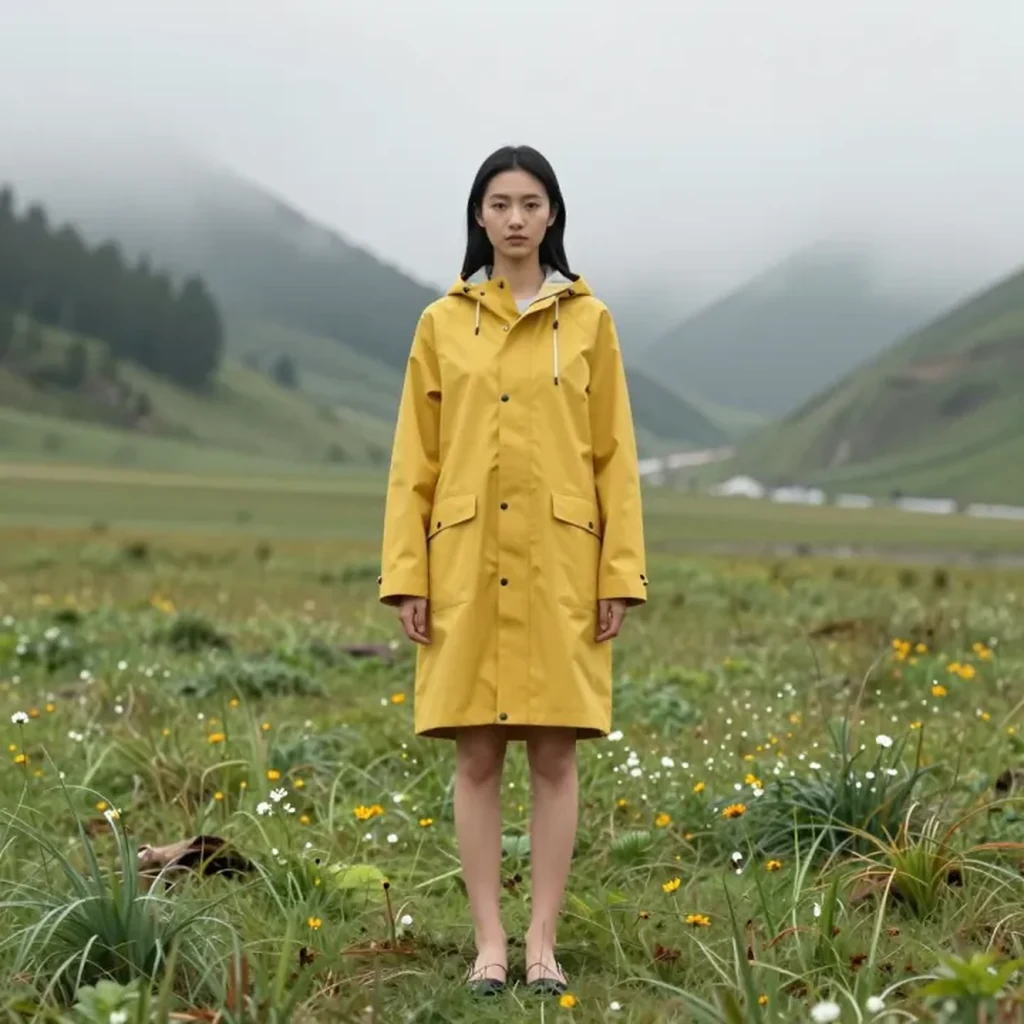
Source
Upload a sharp front, back, or detail view with the garment shape, texture, and closures visible.
Cleanup
Describe which mannequin, model, stand, or background areas to clean while protecting the garment boundary.
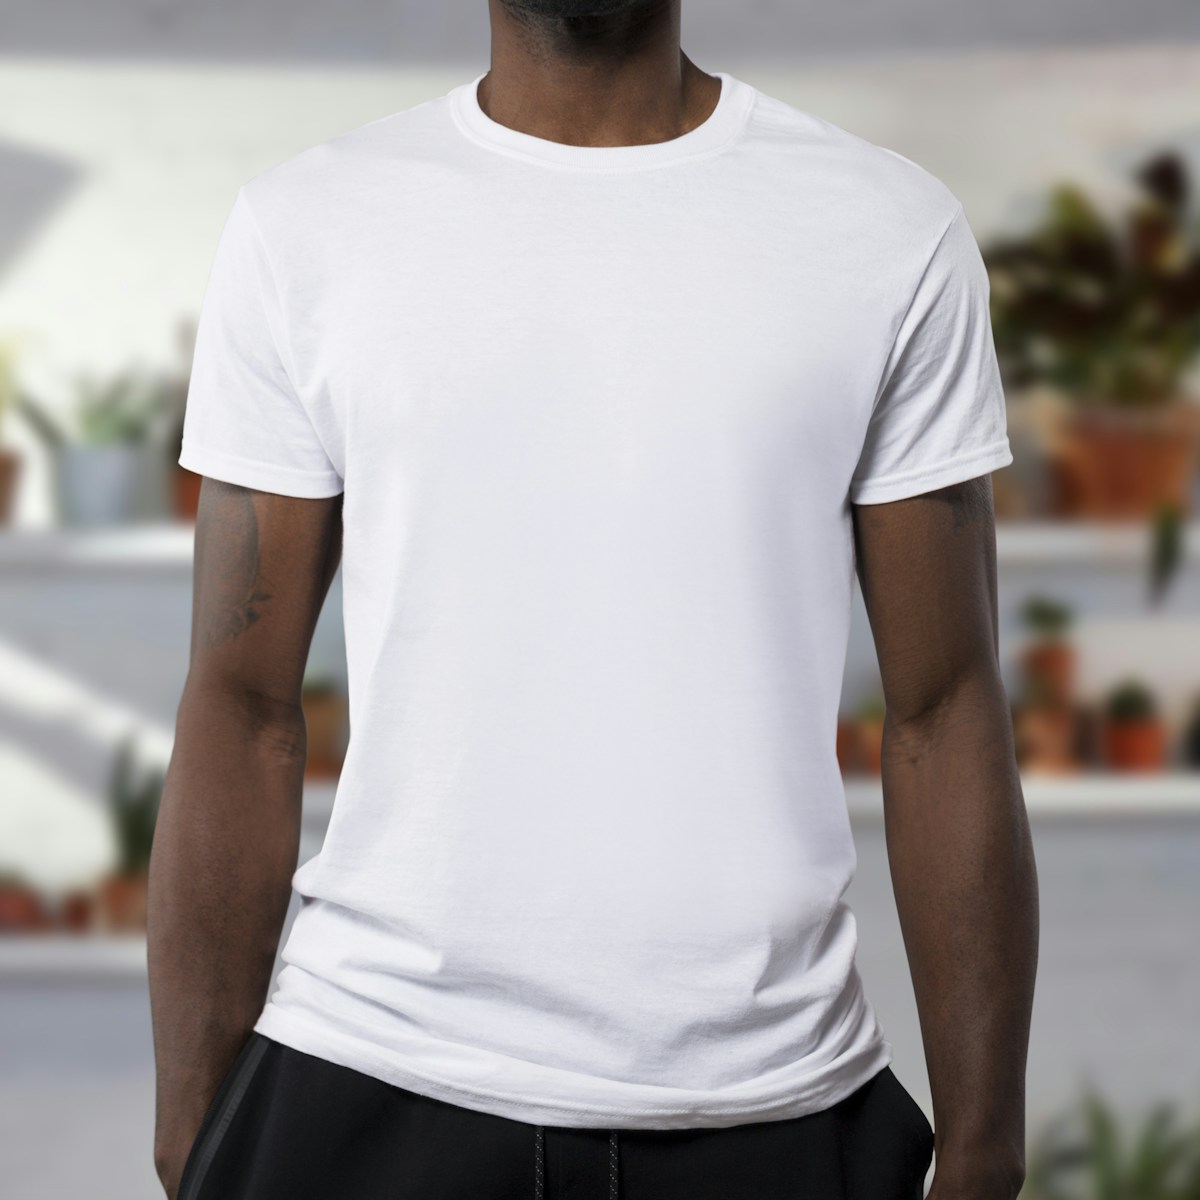
Supporting source
Use a second on-model or mannequin view to understand folds, sleeve openings, and construction the editor may need to reconstruct.
Three reviewable steps
ProductPhoto sends this ghost mannequin AI brief to the image editor, where you can upload a source and work through the cleanup. Results still need a human apparel check.
01
Choose the clearest garment view available. Even light, sharp edges, and visible construction details give the edit better context.
02
Name the visible person, mannequin, stand, and background areas, plus the garment details that must remain unchanged.
03
Zoom into the neckline, sleeve openings, inner fabric, seams, and hem. Correct one area at a time before publishing.
Editing prompt starters
A useful prompt separates the area to remove from the garment details to preserve. Adapt these instructions to what is actually visible in your source.
For a shirt or jacket photographed on a mannequin.
For apparel where skin or a person remains visible.
For a second pass after the main cleanup.
Built for apparel commerce
Use reviewed edits where shoppers need to understand shape and construction without a visible model or display form.
Prepare a clean hero view that keeps the garment prominent and follows the marketplace's current image rules.
Pair front and back ghost mannequin views with close-ups of fabric, fasteners, labels, and construction.
Use consistent framing across reviewed SKU images so buyers can compare silhouettes and details quickly.
Editing with a source in view
For ghost mannequin AI work, ProductPhoto provides an upload-and-edit workspace for apparel cleanup. You remain responsible for directing the change and checking that the final garment is accurate.
Keep the real garment as the visual reference instead of asking a generator to invent an entire SKU from text.
Explain what to remove, what hidden area to fill, and which construction details must stay untouched.
Return to small problem areas and compare each output with the source before it enters a customer-facing catalog.
Common questions
Practical answers about using AI-assisted image editing for ghost mannequin photography and apparel listings.
Ghost mannequin photography shows a garment with three-dimensional shape while hiding the model or display form. The final image often reveals selected inner areas such as the collar.
It can assist with removing visible people or forms and filling limited concealed areas from an apparel photo. You should review the edited construction against the real garment.
No. This ghost mannequin AI page opens ProductPhoto's image editor, where you upload a source, describe the cleanup, inspect the result, and refine areas that need more work.
AI-assisted editing can help fill the inner collar area after a form is removed, but the result is not guaranteed. Check neckline geometry, stitching, lining, and labels before use.
You can direct the editor to clean visible skin or model areas. Results depend on the source and how much garment structure is concealed, so review the silhouette carefully.
Use a sharp, evenly lit image with the garment boundary, texture, seams, and closures visible. Extra reference views help you judge any hidden construction.
Tell the editor to preserve them, then compare every character, position, and color with approved artwork. Do not publish a generated label without checking it.
Yes. Include the desired background in your edit instructions, then verify edge cleanup, contact shadows, and the image rules for your sales channel.
Yes. Treat each view as its own source-led edit and check that shared details, color, scale, and framing remain consistent across the set.
This ghost mannequin AI workflow does not promise dedicated bulk mannequin reconstruction. For a large catalog, establish an approved look, process files methodically, and review every SKU output.
No advanced compositing setup is required to start. Clear instructions and careful apparel review matter more, especially around necklines, sleeves, and inner panels.
Review ProductPhoto terms, your rights to the source image and garment branding, and each marketplace's policies before publishing commercial assets.
Create a cleaner apparel listing image
Upload your source in the image editor, direct the removal, and review the garment before it reaches your catalog.